Sometimes during the work on the site you may want to make it temporarily inaccessible for visitors. In PrestaShop you can use maintenance mode for such purposes.
It may be useful during initial website development or while updating etc.
This article describes how to enable maintenance mode.
To activate the maintenance mode, you need to do the following:
In PrestaShop 1.5 и 1.6
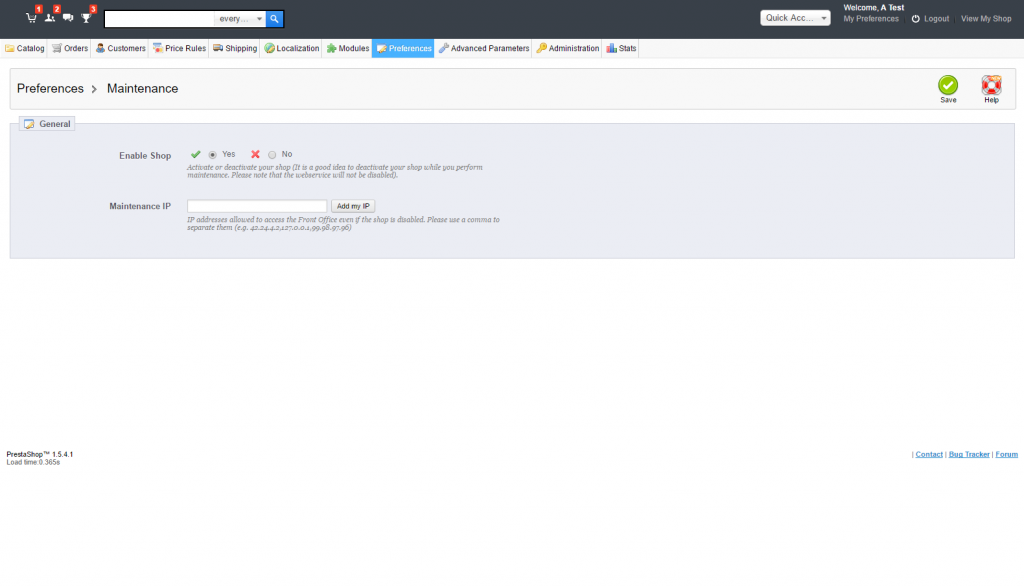
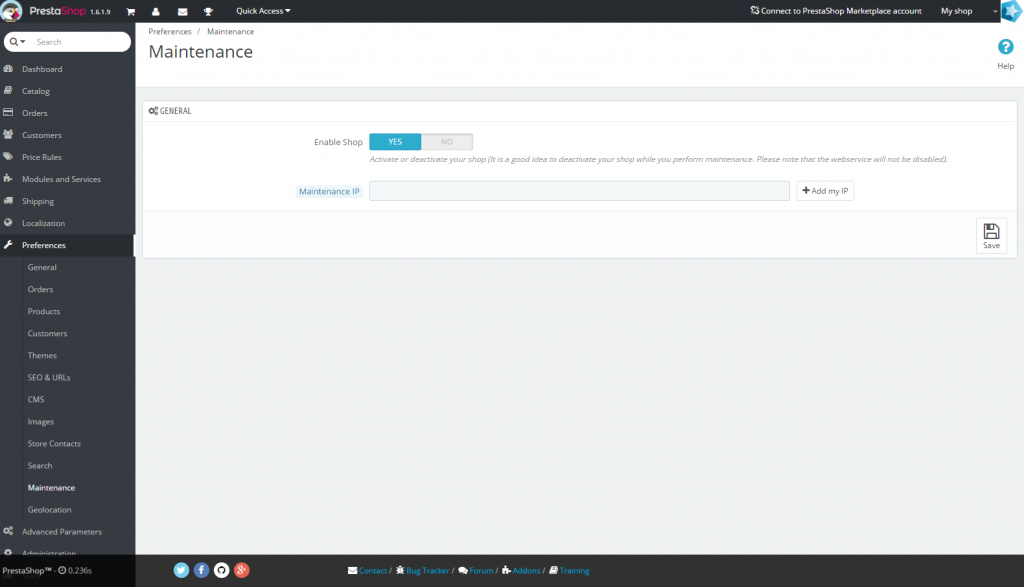
- In PrestaShop Back Office go to the page Preferences >> Maintenance.
- Set the switch “Enable shop” to “No“.
- Add your IP address to the allowed IPs list. You can do it either entering it manually or by pressing the button “Add my IP”. It will allow you to access your shop even after enabling maintenance mode.
- Save the changes.
In PrestaShop 1.7
- In PrestaShop Back Office go to the page Shop parameters >> General.
- Click at the tab “Maintenance“.
- Set the switch “Enable shop” to “No“.
- Add your IP address to the allowed IPs list. You can do it either entering it manually or by pressing the button “Add my IP”. It will allow you to access your shop even after enabling maintenance mode.
- Also you can add some text that will be showed to visitors.
- Save the changes.
All done. Don’t forget to turn off maintenance mode after ending of technical works!


