Starting your own online shop can be an exciting venture. If you’ve chosen PrestaShop for your e-commerce platform, here’s a simple 7-step guide to setting up your first PrestaShop store.
Step 1: Choose Hosting and Domain Name for Your Store
First, you’ll need a domain name and hosting.
- Domain: The domain name is the website address where customers can find your store. Choosing a domain name that is short, memorable, and related to your business can help customers remember your site better.
Some popular domain providers include for example GoDaddy, Bluehost, Google Domains. - Hosting: Hosting is where your website files will be stored. Consider starting with shared hosting as it is affordable and suitable for new, small-scale stores. But keep in mind that as your business grows, you might need to upgrade to a Virtual Private Server (VPS) for better site performance and security.
Reliable hosting providers include for example SiteGround, InMotion, A2 Hosting. Make sure they support a modern PHP version, MySQL, and at least 128 Mb of RAM.
Step 2: Get Ready
Link your domain to your hosting service and prepare the hosting.
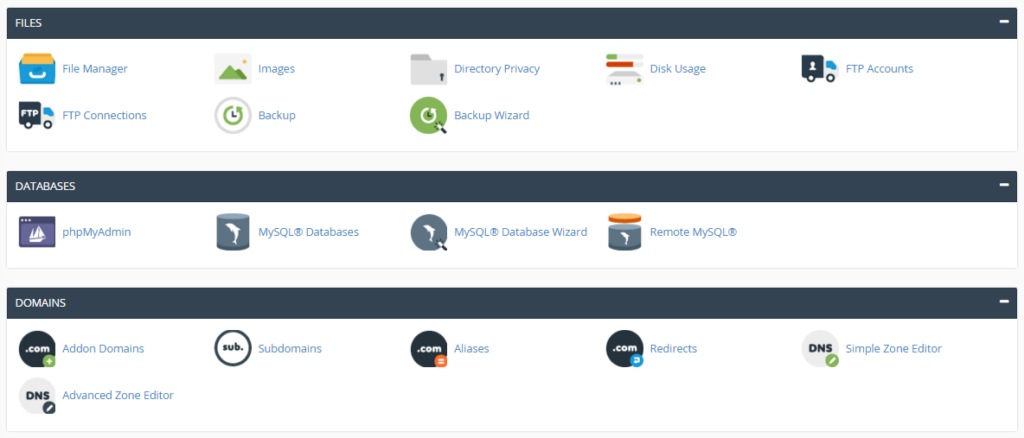
- Connect your domain to the hosting: In your hosting provider’s control panel, look for an option like ‘Add Domain‘ or ‘Add a New Site‘. Enter your domain name and follow the provider’s instructions.
- Prepare database: Most hosting providers offer database creation within their control panel. After creating your database, make a note of the database name, username, and password as you’ll need these during the PrestaShop installation.
- Prepare FTP connection: If you need to upload files to the hosting server, you may require an FTP account. Your hosting provider can provide credentials or guide you to set this up.
Step 3: Download and Upload PrestaShop
- Download the latest PrestaShop version (8.0.4 at the time of writing) from the official website: https://prestashop.com
- Upload it to your site: If your hosting offers one-click PrestaShop installation, use it! If not, you’ll need a FTP client (like FileZilla) to upload the PrestaShop files to your hosting account. Connect the client to your FTP account and upload the PrestaShop files to your website’s root directory.
Step 4: Installation and Basic Setup
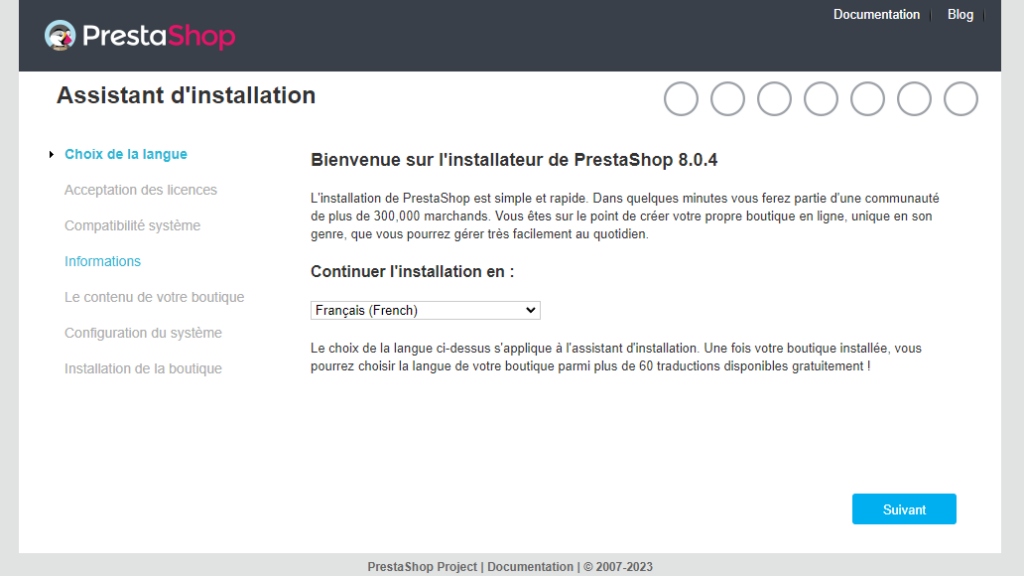
Start the PrestaShop installation by entering your domain name in the browser. The setup wizard will guide you through.
You’ll need to choose your language, enter your database credentials, shop’s name, and create an admin account. Remember to keep these admin credentials safe, as you’ll need them to manage your store.
Step 5: Pick and Install a Theme
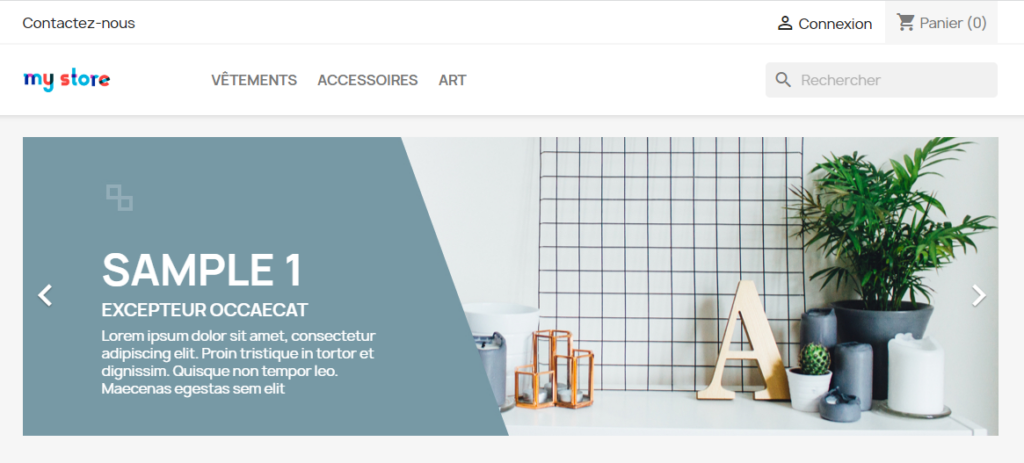
While PrestaShop offers a nice default theme, you might want something more unique.
There’s a variety of both free and premium themes you can choose from. To install a theme, go to the PrestaShop admin panel, navigate to ‘Design > Theme & Logo’, and follow the steps to upload and activate your chosen theme.
Step 6: Set Up the Shop
With your store set up, it’s time to configure important settings like shipping options, payment methods, and tax rules.
You can access most of these settings from the “Shop Parameters“, “Shipping“, “Payment” and “Modules” sections in your PrestaShop dashboard.
Step 7: Add Your Products
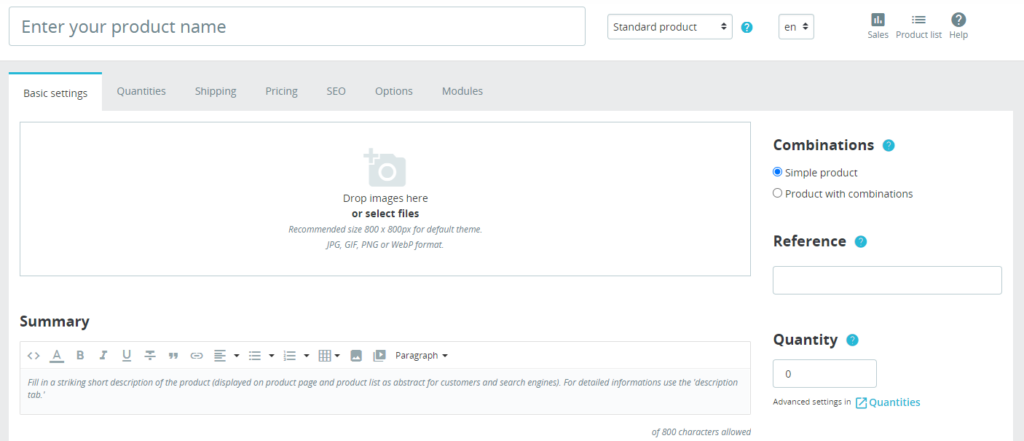
Navigate to “Catalog > Products” in your PrestaShop dashboard and click the “New product” button. Here you can add product name, description, images, prices and more.
That’s it!
Your basic PrestaShop store is now up and running. Keep in mind that this is just the beginning. To grow your online store, you’ll need to work on SEO, manage orders, market your products, provide customer support, and much more. Happy selling!


